Published: Nov 21, 2022 by K. E. Claytor
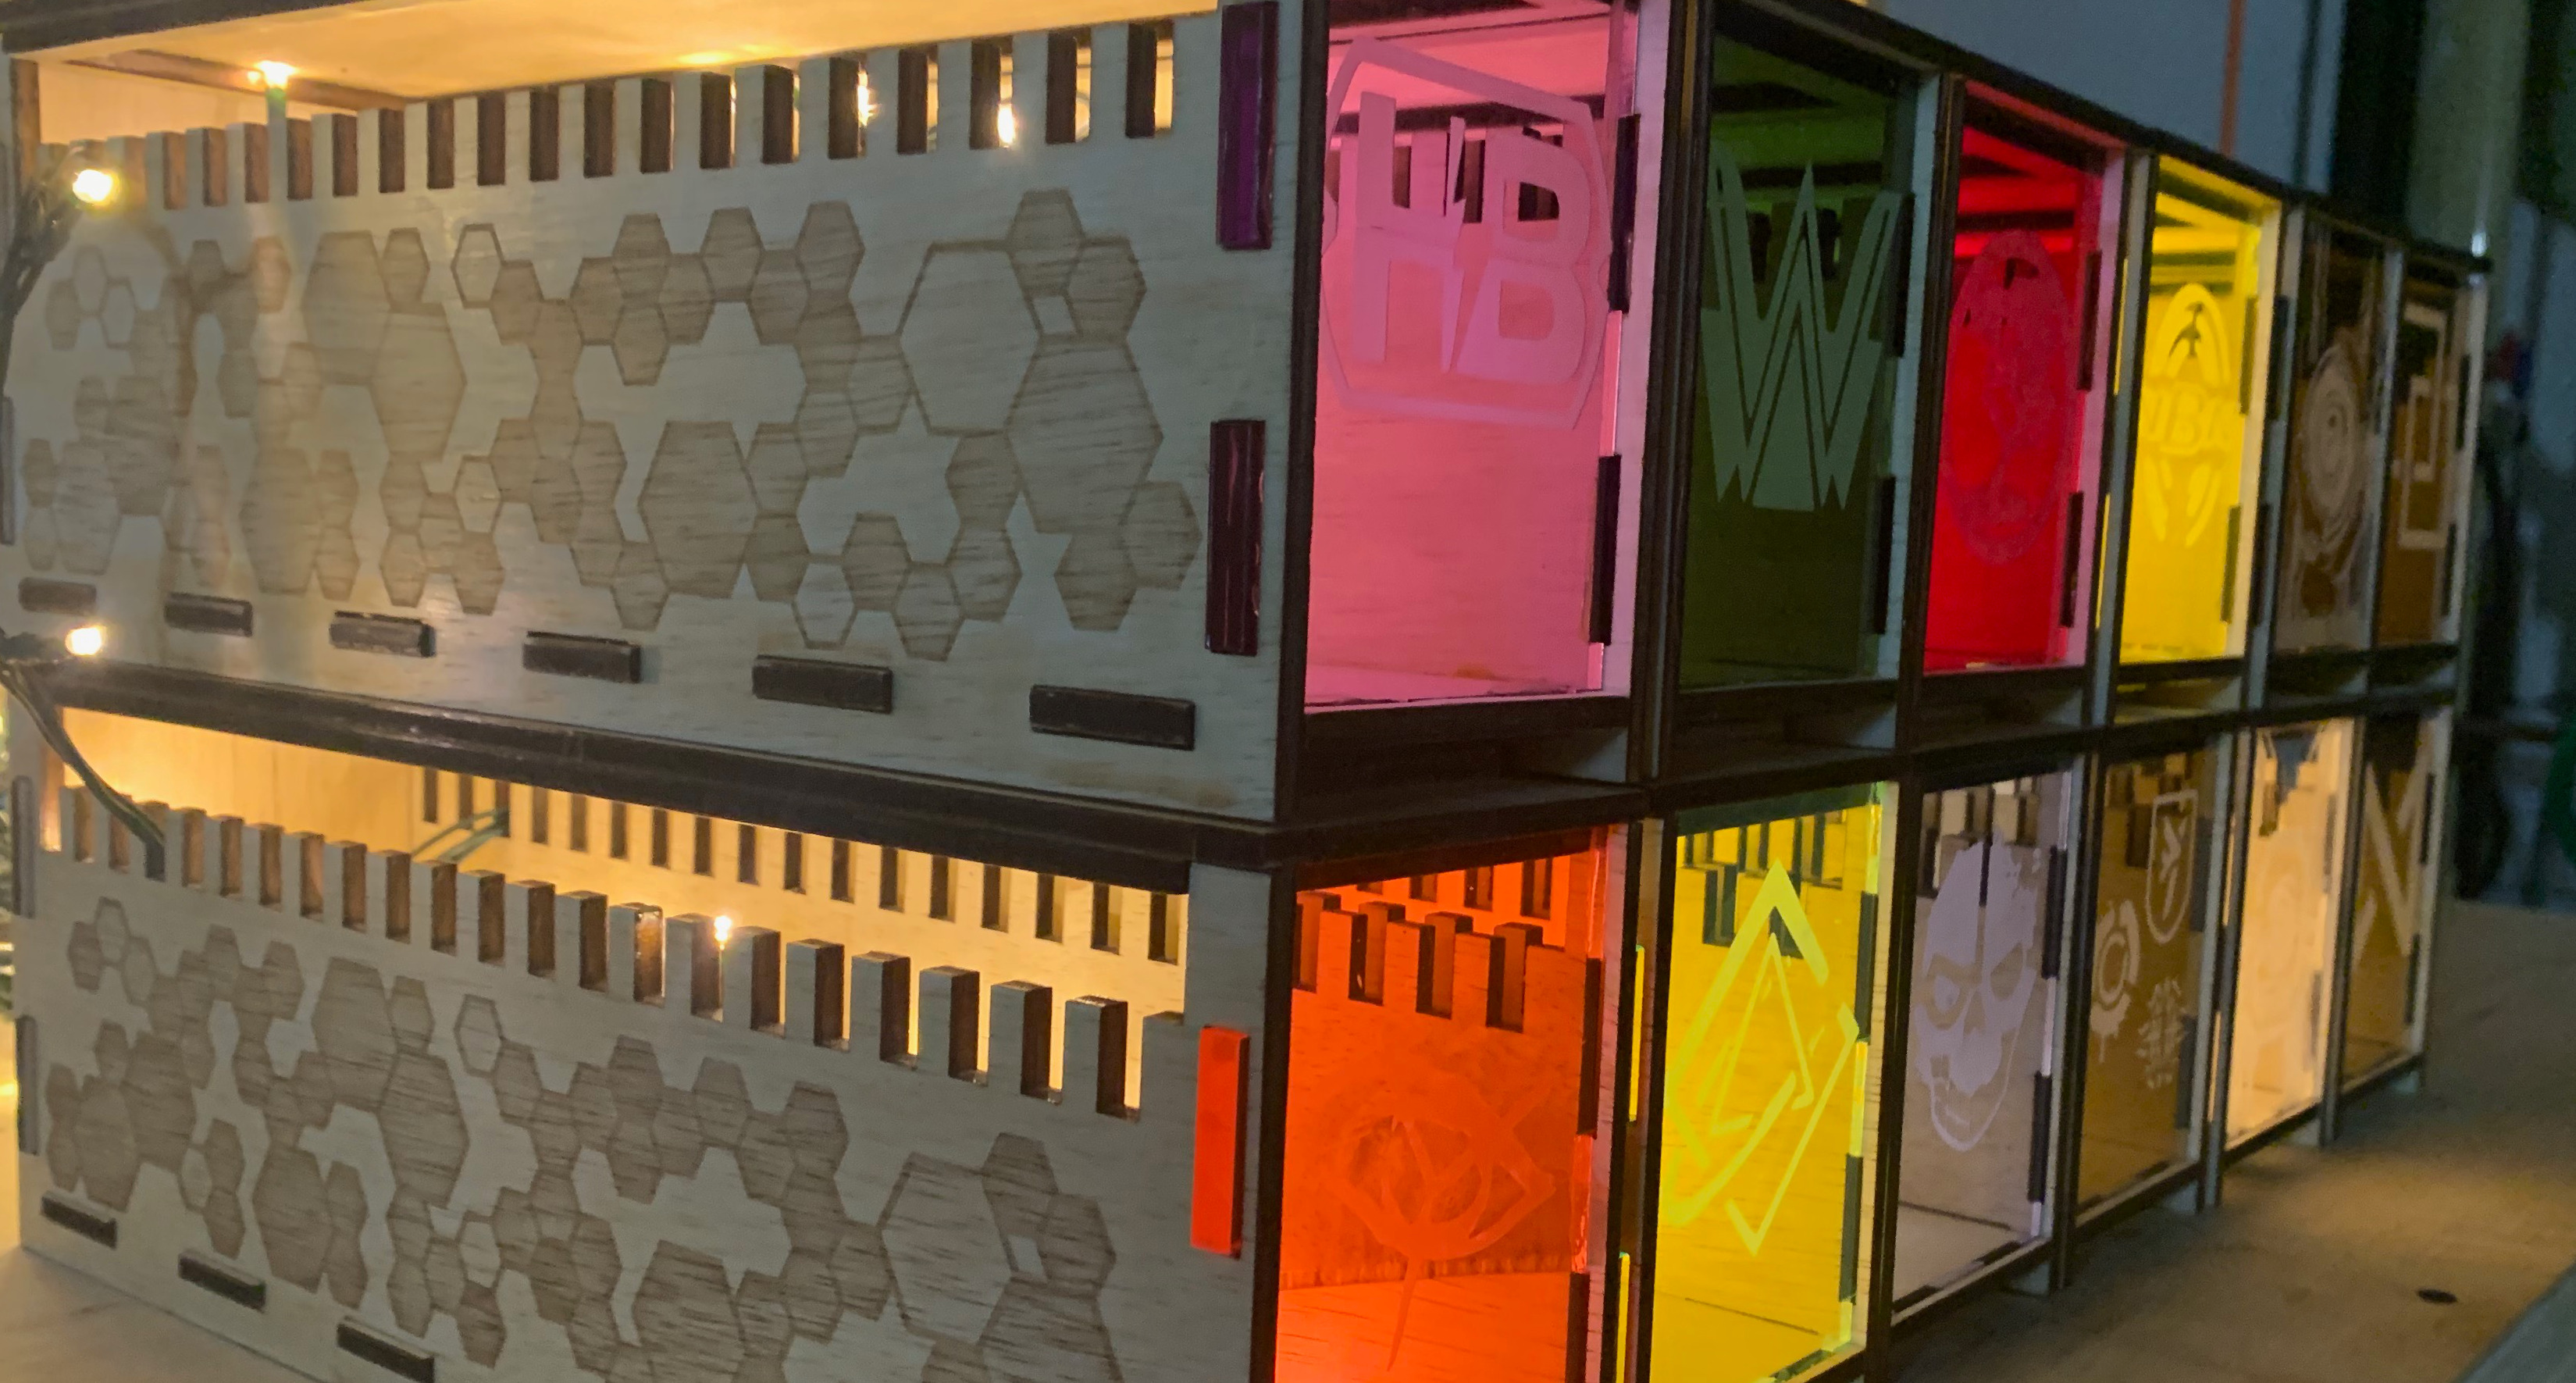
I’ve been wanting to upgrade my Netrunner card storage for a while. Now that I have access to a laser cutter/engraver, I finally took the plunge and designed these boxes. I think they turned out fantastic!
I future proofed so;
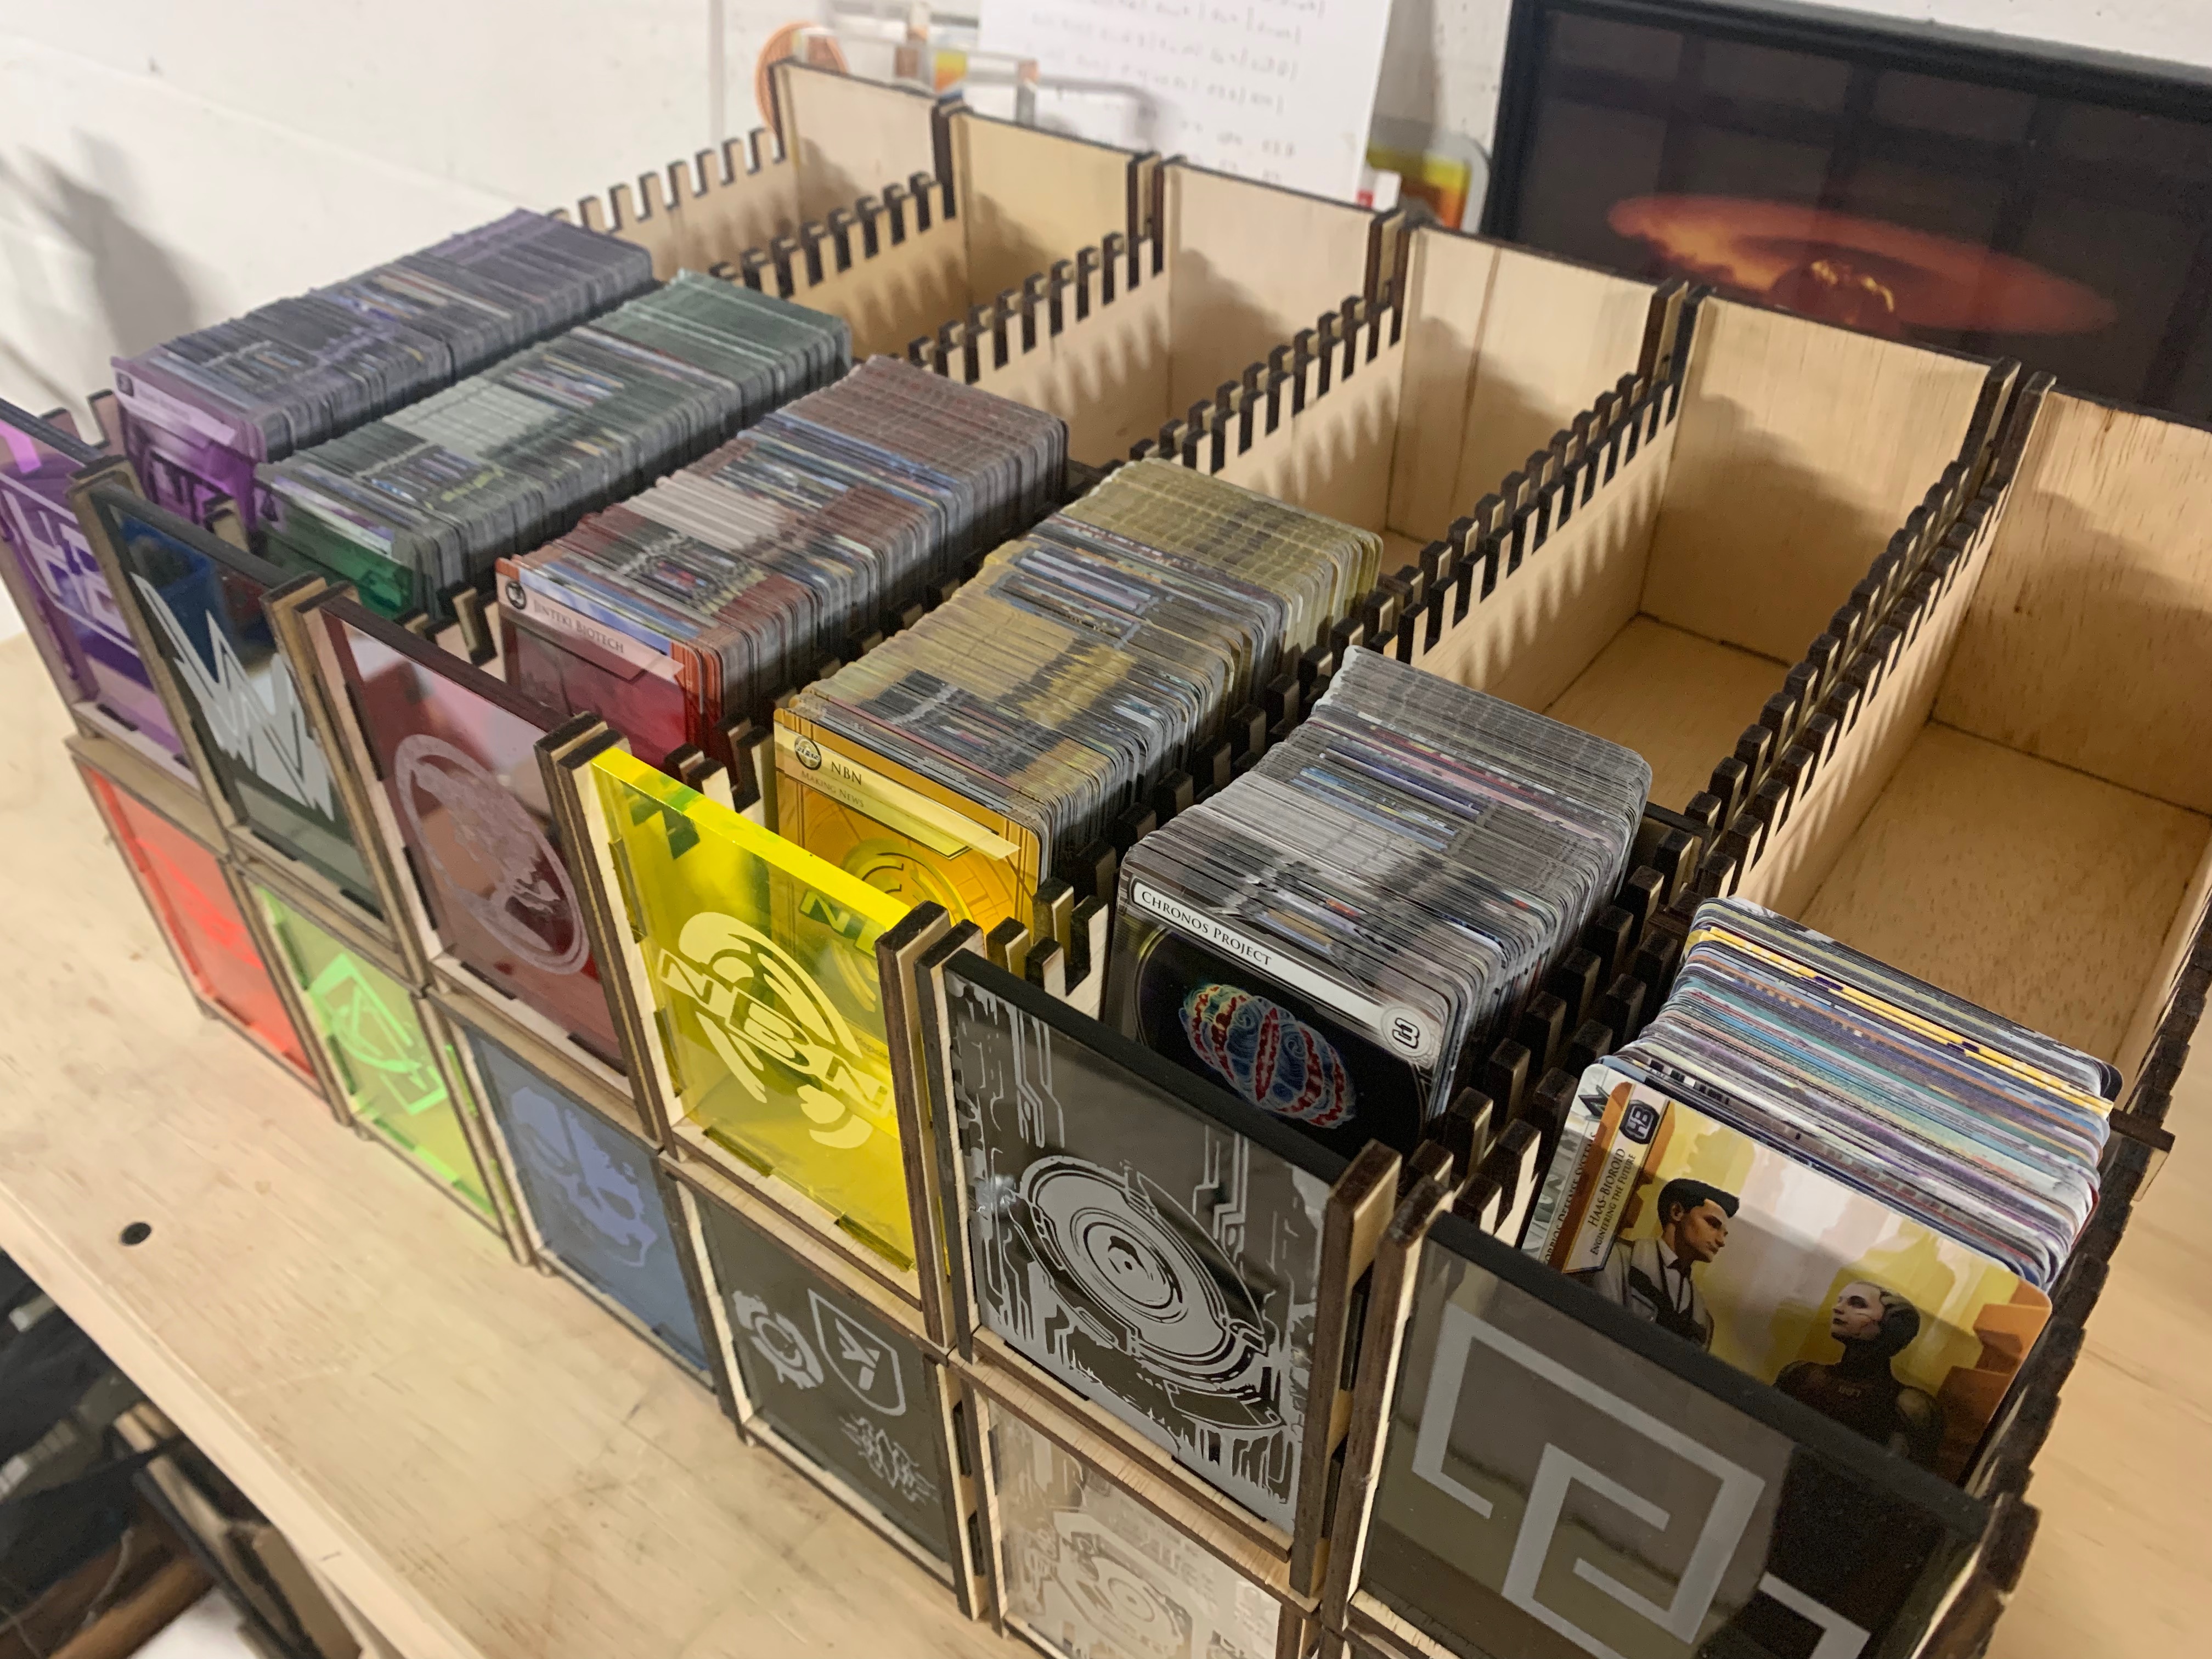
- They’re deep enough to fit the entire FFG + Nisei card pool with room to expand (unsleeved)
- They’re sized to fit dragon sleeves (I haven’t sleeved my collection yet, so I’m not sure if it works).
Between all of the factions, mini-factions, neutral, and alt-art boxes it is twelve boxes for a full set.
View the Gallery
Download the Files
View Assembly Instructions
Read the Prototyping Log
Files
Here are the files if you want to make you own:
- Version 3 final Coreldraw (cdr) files:
- Version 3 beta Inkscape (svg) files:
NOTE: The card separator inserts are a bit wide once the boxes have been glued together - you should either;
- glue the boxes together with an insert in them to ensure the inserts fit, or
- thin down the inserts a bit prior to laser cutting
NOTE: The hexagons are designed to have four shading levels (none, light, medium, dark). You should run the shading test to determine which color levels you want to use and then adjust the groups in the boxes_v3_final accordingly.
To get the best effect, you may want to try different styles of plywood. I found that “Lauan” plywood worked well for me.
Prototyping
Version 1
I knew what I wanted to do with the tab/slot construction and the first version largely shows that.
However, this build really highlighted three shortcomings;
- I didn’t like the aesthetics of the full-acrylic front,
- having the walls higher than the card height made it tough to extract cards,
- the separator slots were too few and far between.
At this point, I also realized that;
- I could have them stack since they have two “rails” on the bottom from the walls, and
- The sides and top could really use some decoration.
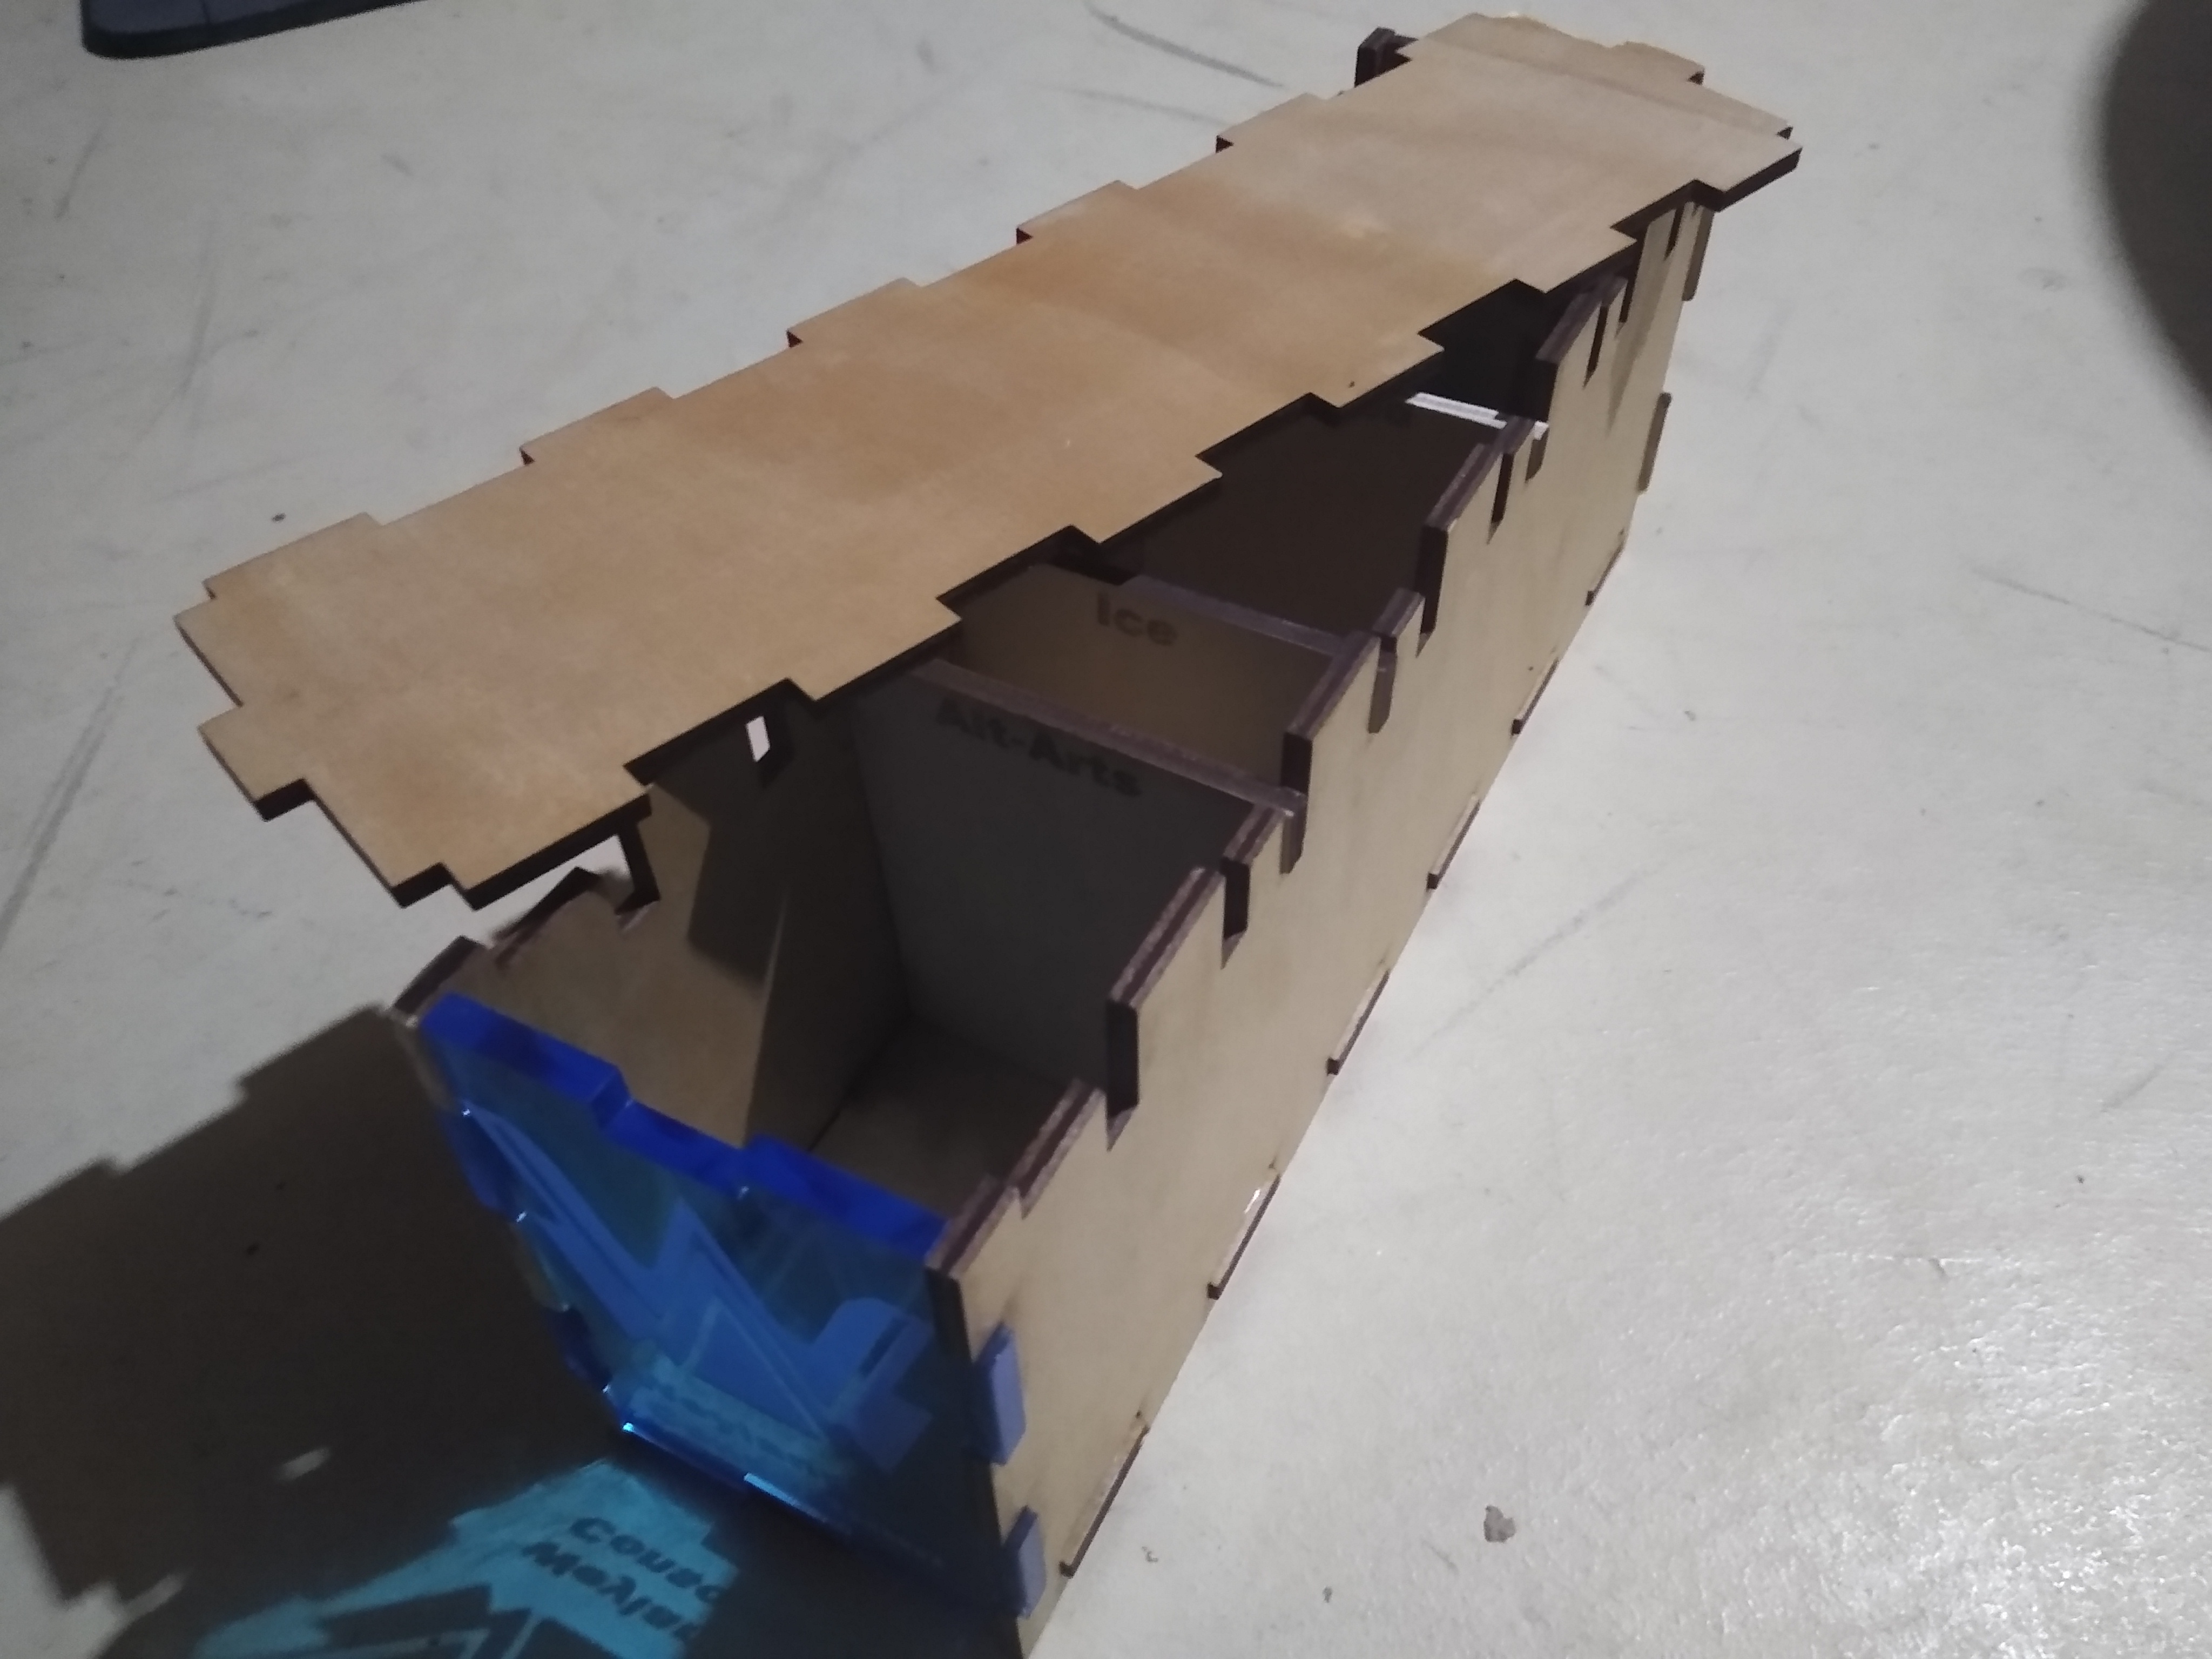
Version 2
Version two fixed most of these shortcomings and I was quite pleased with it. The only major difference was the notches in the front of the lid were missing, which meant that it would slide back and forth.
Corrections on the version 2 box;
- the lid had alignment notches in the back but not in the front (see the picture above), as a result;
- the front would wiggle back and forth
- you had to check which was the front/back of the lid before putting it on
- who built it? I needed to to engrave my signature somewhere!
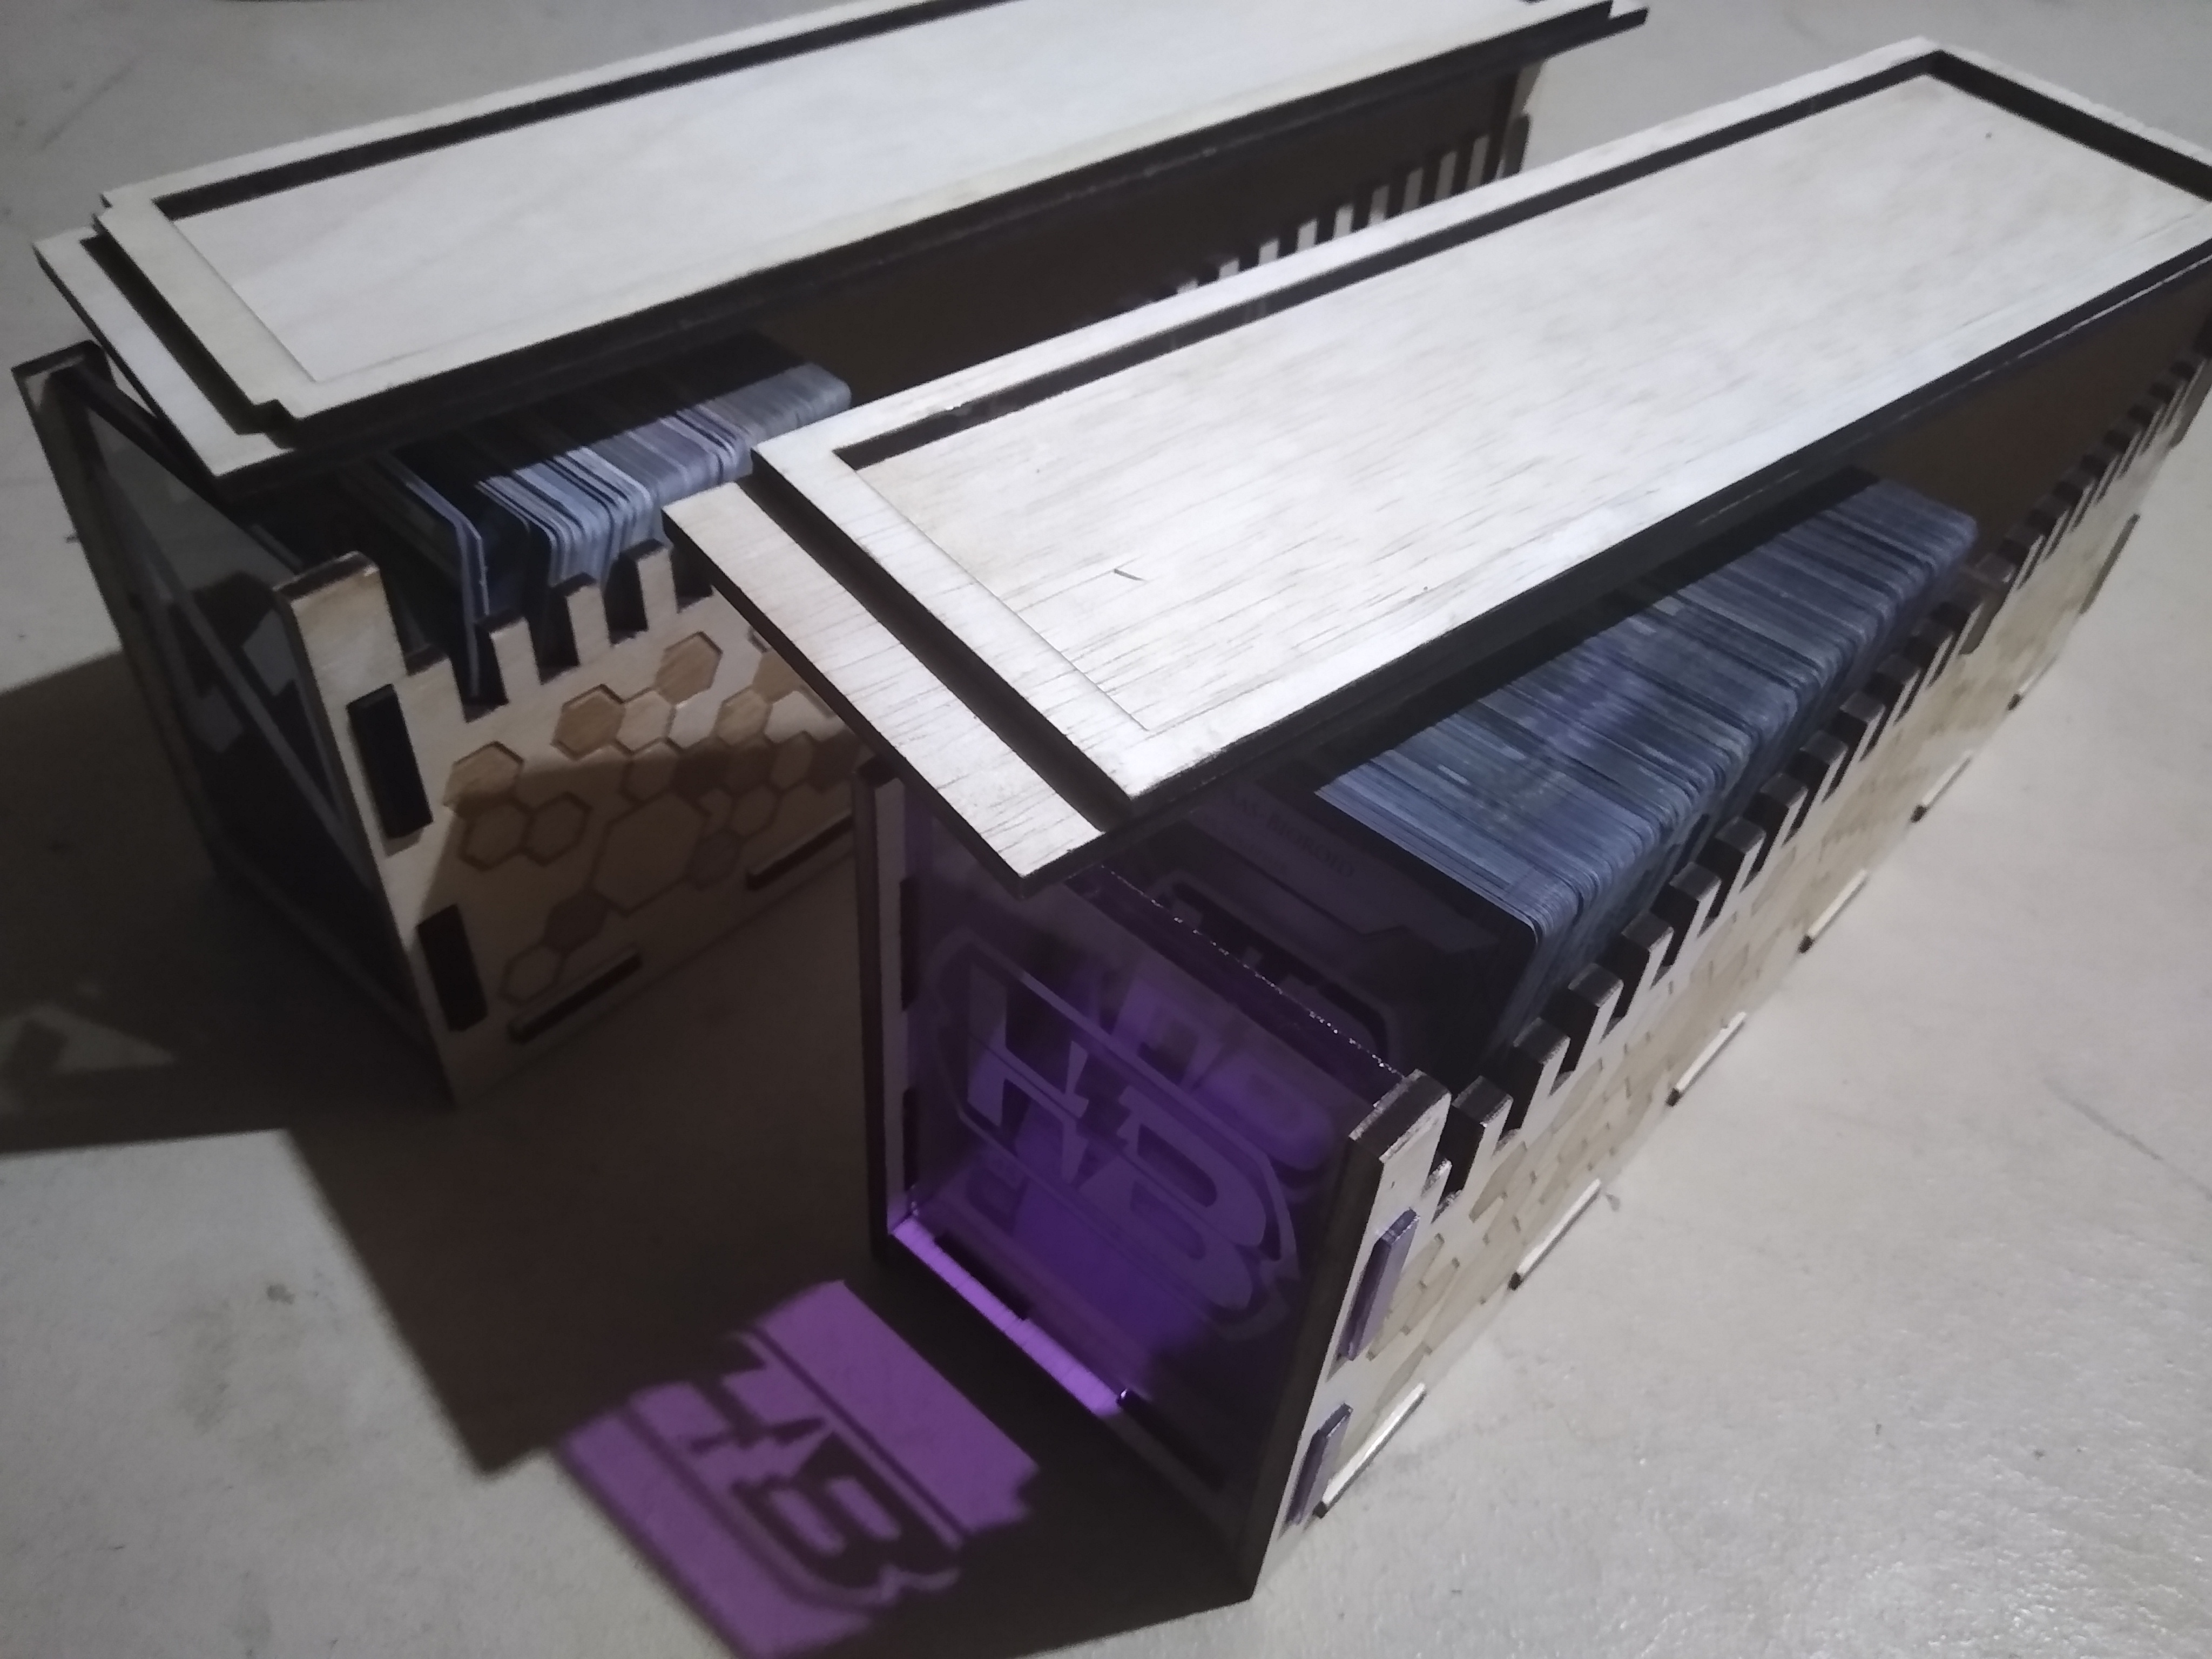
Version 3
Version three solved these and I went ahead with building all 12!
As mentioned above, I would still fix the insert width;
- insert is a bit too wide, would reduce by 1/8 - 1/4th of an inch.
Assembly Instructions
View the gallery for assembly instructions.